For most of the custom Showit, ProPhoto, and WordPress website design projects I worked on with my clients, there was a need to implement a responsive testimonial slider. While some required the design and implementation of a simple testimonial slider others needed a few extra features or layouts.
Here is an example of a testimonial slider I did for one of my custom branding and ProPhoto WordPress website design clients.

Above is a Custom ProPhoto Testimonial Slider from Branding and Website Design Project for Andrea Cathomas Photography by the Flying Muse
I also felt the need to design some responsive testimonial sliders as an add-on to the website templates I sell here at the Flying Muse shop. I can not count how many times people who had purchased a ProPhoto WordPress website template from my collection of ProPhoto WordPress Templates asked if there was an option to add a testimonials slider to their website.
On top of this, I was considering adding a testimonial slider on my Elementor WordPress website homepage or somewhere else on my website. So, I wanted to find a solution that would not only fit my client’s needs but one that I could use or a variation of that slider on my own Elementor website.
No matter if you’re looking to add a simple or advanced responsive testimonial slider to your WordPress, ProPhoto, or Elementor website read below for a complete tutorial on how to add testimonials in a slider format to your website, blog, or shop.
Table of Contents
- What do I need to be able to add a testimonial slider in WordPress, ProPhoto, or Elementor?
- How to create and add a testimonial slider tutorial
- Smart Slider 3 Testimonial Slider Plugin Templates
What do I need to be able to add a testimonial slider in WordPress, ProPhoto, or Elementor?
I searched for a WordPress testimonial slider plugin and came across the Smart Slider 3 plugin. With the Smart Slider 3 WordPress plugin, one can create simple or more advanced responsive testimonial slider layouts. The plugin comes with its own library of templates, making it easier to start creating a testimonials slider in Smart Slider 3.
If you’re using ProPhoto, the Smart Slider 3 plugin is recommended by the ProPhoto team themselves as a compatible plugin with ProPhoto 7 & ProPhoto 8. The process to create the slider is the same as if you were creating a testimonial slider for any other WordPress or Elementor website. However, due to the specifics of the platform adding a testimonials slider to ProPhoto is a bit different.
How to create and add a testimonial slider tutorial
1 | Install the Smart Slider 3 testimonial slider plugin in WordPress
There is a free version of the Smart Slider 3 plugin for WordPress and is available for download via the WordPress plugin repository.
If you are new to installing plugins in WordPress or need a reminder you can check on my tutorial on a few simple ways how to install a WordPress plugin.
To install the Smart Slider 3 plugin in WordPress simply navigate to the Plugins menu and click on Add new plugin inside your WordPress dashboard.
Simply, enter the name Smart Slider 3 into the search field and install and activate it.
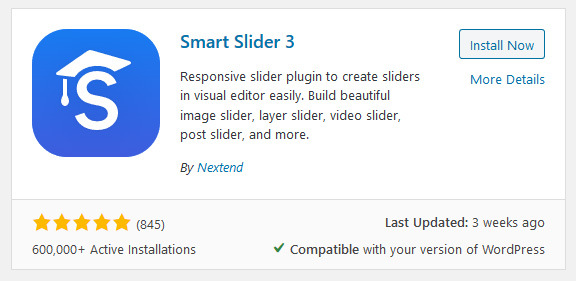
After doing so, you’re ready to start creating a testimonial slider to add to your WordPress, ProPhoto, or Elementor website, blog, or shop.
2 | How to create a testimonial slider with Smart Slider 3?
Creating a testimonial slider with the Smart Slider 3 WP plugin is a creative process.
Although the plugin seems intimidating and the interface may scare you off at first, it is worth the effort to learn the plugin and create the testimonial slider layout you always dreamed of having.
However, if you plan to start with any of the free templates provided with the Smart Slider 3 plugin, the complete process is not going to take too much of your time.
Only if you want to add a fully customized look, feel, and layout for a responsive testimonial slider on your website, blog, or shop it will require more effort, and will take more time. However, it’s worth it!
But don’t get scared!
I created the step-by-step tutorial below that I am sharing with you and will show you the exact steps I did to add a testimonial slider.
If you don’t like adding a slider and customizing it from the Smart Slider library by yourself you can grab the Testimonial Sliders library from the Flying Muse shop that I am currently working on. Just scroll to the very bottom of this page to find out how you can get information when the Testimonials Slider library becomes available.
All, right! Let’s create the slider.
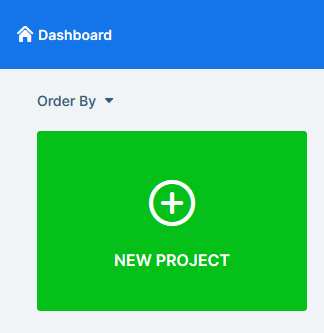
Step 1. Navigate to Smart Slider Dashboard and click on the Start New Project Button.
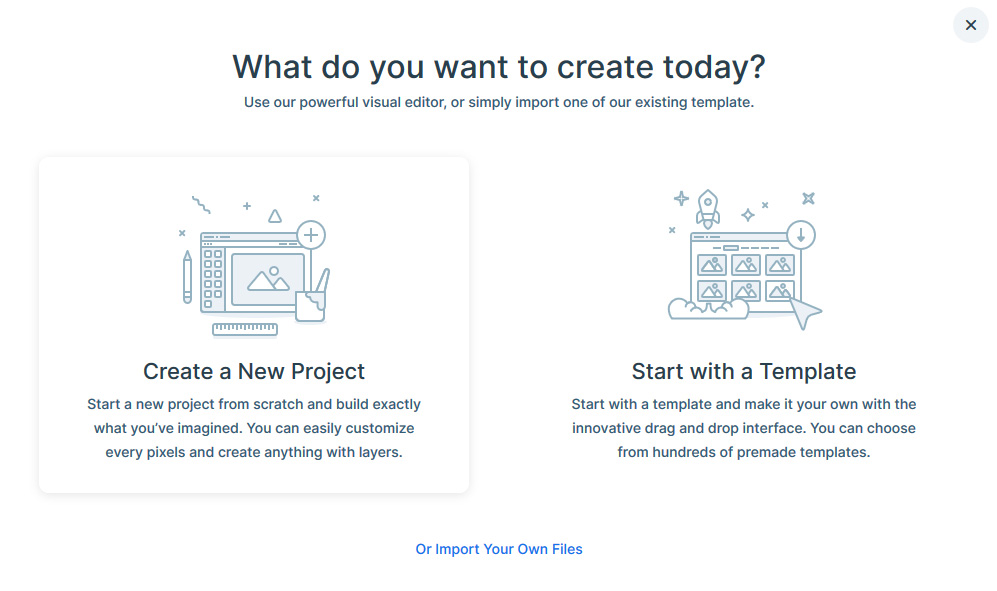
Step 2. Choose how you’d like to create the slider, either a custom one or to start from a template. For this tutorial, I will be creating a slider from one of the included and free templates in Smart Slider 3.
Note: If you will use the Smart Slider Testimonial Templates I am in the process of creating that will be available via the Flying Muse shop, you will need to click on the Import your Own Files (at the very bottom of this screen). Info on when the template bundle will be available is included below.
To create a slider from the Smart Slider 3 library of templates, click on the Start with a Template option.
Step 3. Select a slider to import and customize the slides by clicking each of the slides’ thumbnails.

Step 4. After you have customized all of the slides, save your slider and go and grab the Smart Slider shortcode. You will need the shortcode to add the slider on any page of your preference, such as your homepage, services page, or other.
You can find the Smart Slider shortcode under the General tab for the slider you have customized.
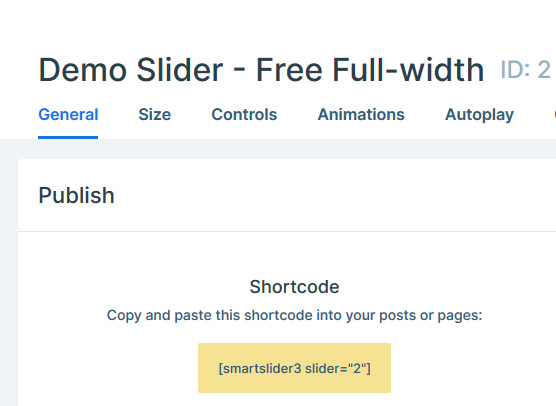
Next is to add this shortcode into the position you’d like it displayed. How you add the Smart Slider shortcode depends on the platform you are using for your website, blog, or shop.
Below are instructions for ProPhoto and Elementor. Just scroll to the instructions for each of these platforms.
How to add a testimonial slider in Elementor?
The Elementor PRO version provides its testimonial slider element.
However, the testimonial slider that comes with Elementor PRO is a very basic one.
You can only choose from only a few very limited layouts. You are not going to be able to rearrange elements as you would like to (and with Smart Slider you can!)
For my own needs, the Elementor Pro slider is what I needed. You can check the Elementor Pro testimonial slider in action on my branding and custom website design services page.
Some will find the slider that Elementor PRO provides exactly what they need. However, sometimes the included slider is not going to fit your vision and needs. Luckily, you can design your very own with this plugin.
Now! Off to add the slider you had just created in Elementor!
Step 1. Drag and Drop the Elementor Shortcode element to an existing or new block in Elementor. The shortcode element is available in the free Elementor version, but I always recommend upgrading to Elementor PRO since it comes with upgrades and features you will most likely need at some point in time.
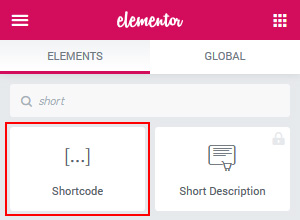
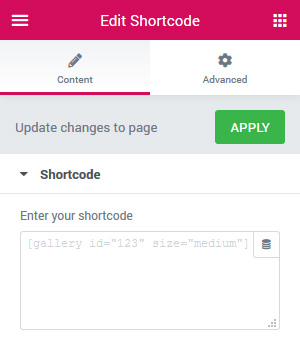
Step 2. Paste the Shortcode into the ” input field and click on Apply. That’s it! 🙂 You just added the Smart Slider you already created to your Elementor page.
How to add the testimonial slider in ProPhoto 7 & ProPhoto 8?
ProPhoto 7 the latest ProPhoto 8 is one of the most awesome platforms I worked with as a designer. One of the misconceptions about ProPhoto is that users usually think it is only a WordPress theme, but it’s actually a lot more than that.
Even designers who work with other platforms or just plain WordPress websites believe it would be extremely easy to work with ProPhoto. But, the ProPhoto platform has its specifics and it does take time to learn every single feature.
The process of adding a testimonial slider to ProPhoto is a bit different from other platforms and specific to ProPhoto only. However, it is a very simple process that can be completed in only a few steps.
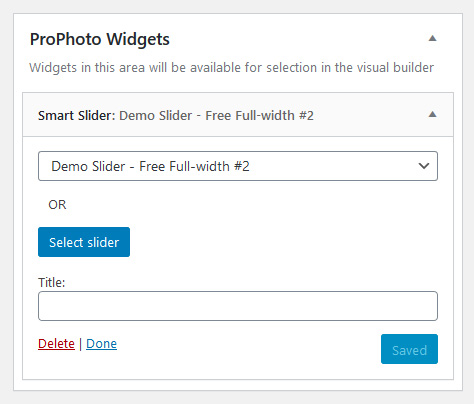
Step 1. Navigate to Appearance > Widgets and add the Smart Slider widget to the ProPhoto widgets area. From the drop-down select your slider.
Step 2. Now, navigate to the page or the layout where you’d like to display the testimonial slider in ProPhoto and Drag and Drop a widget module to a new or existing ProPhoto block.
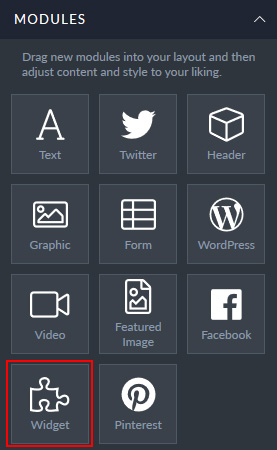
Step 3. Click on the gear icon and select the Smart Slider widget from the Widget dropdown menu in ProPhoto.
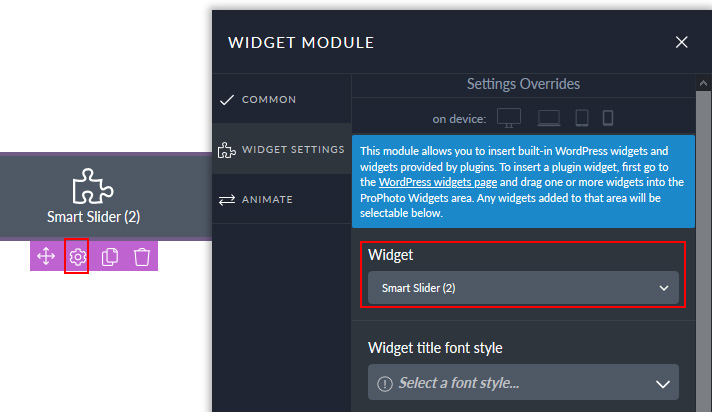
Note: Inside the customizer, your newly created testimonial slider won’t display. Just save the ProPhoto Layout and Page and the slider you just added will display on your live page and website.
Smart Slider 3 Testimonial Slider Plugin Templates
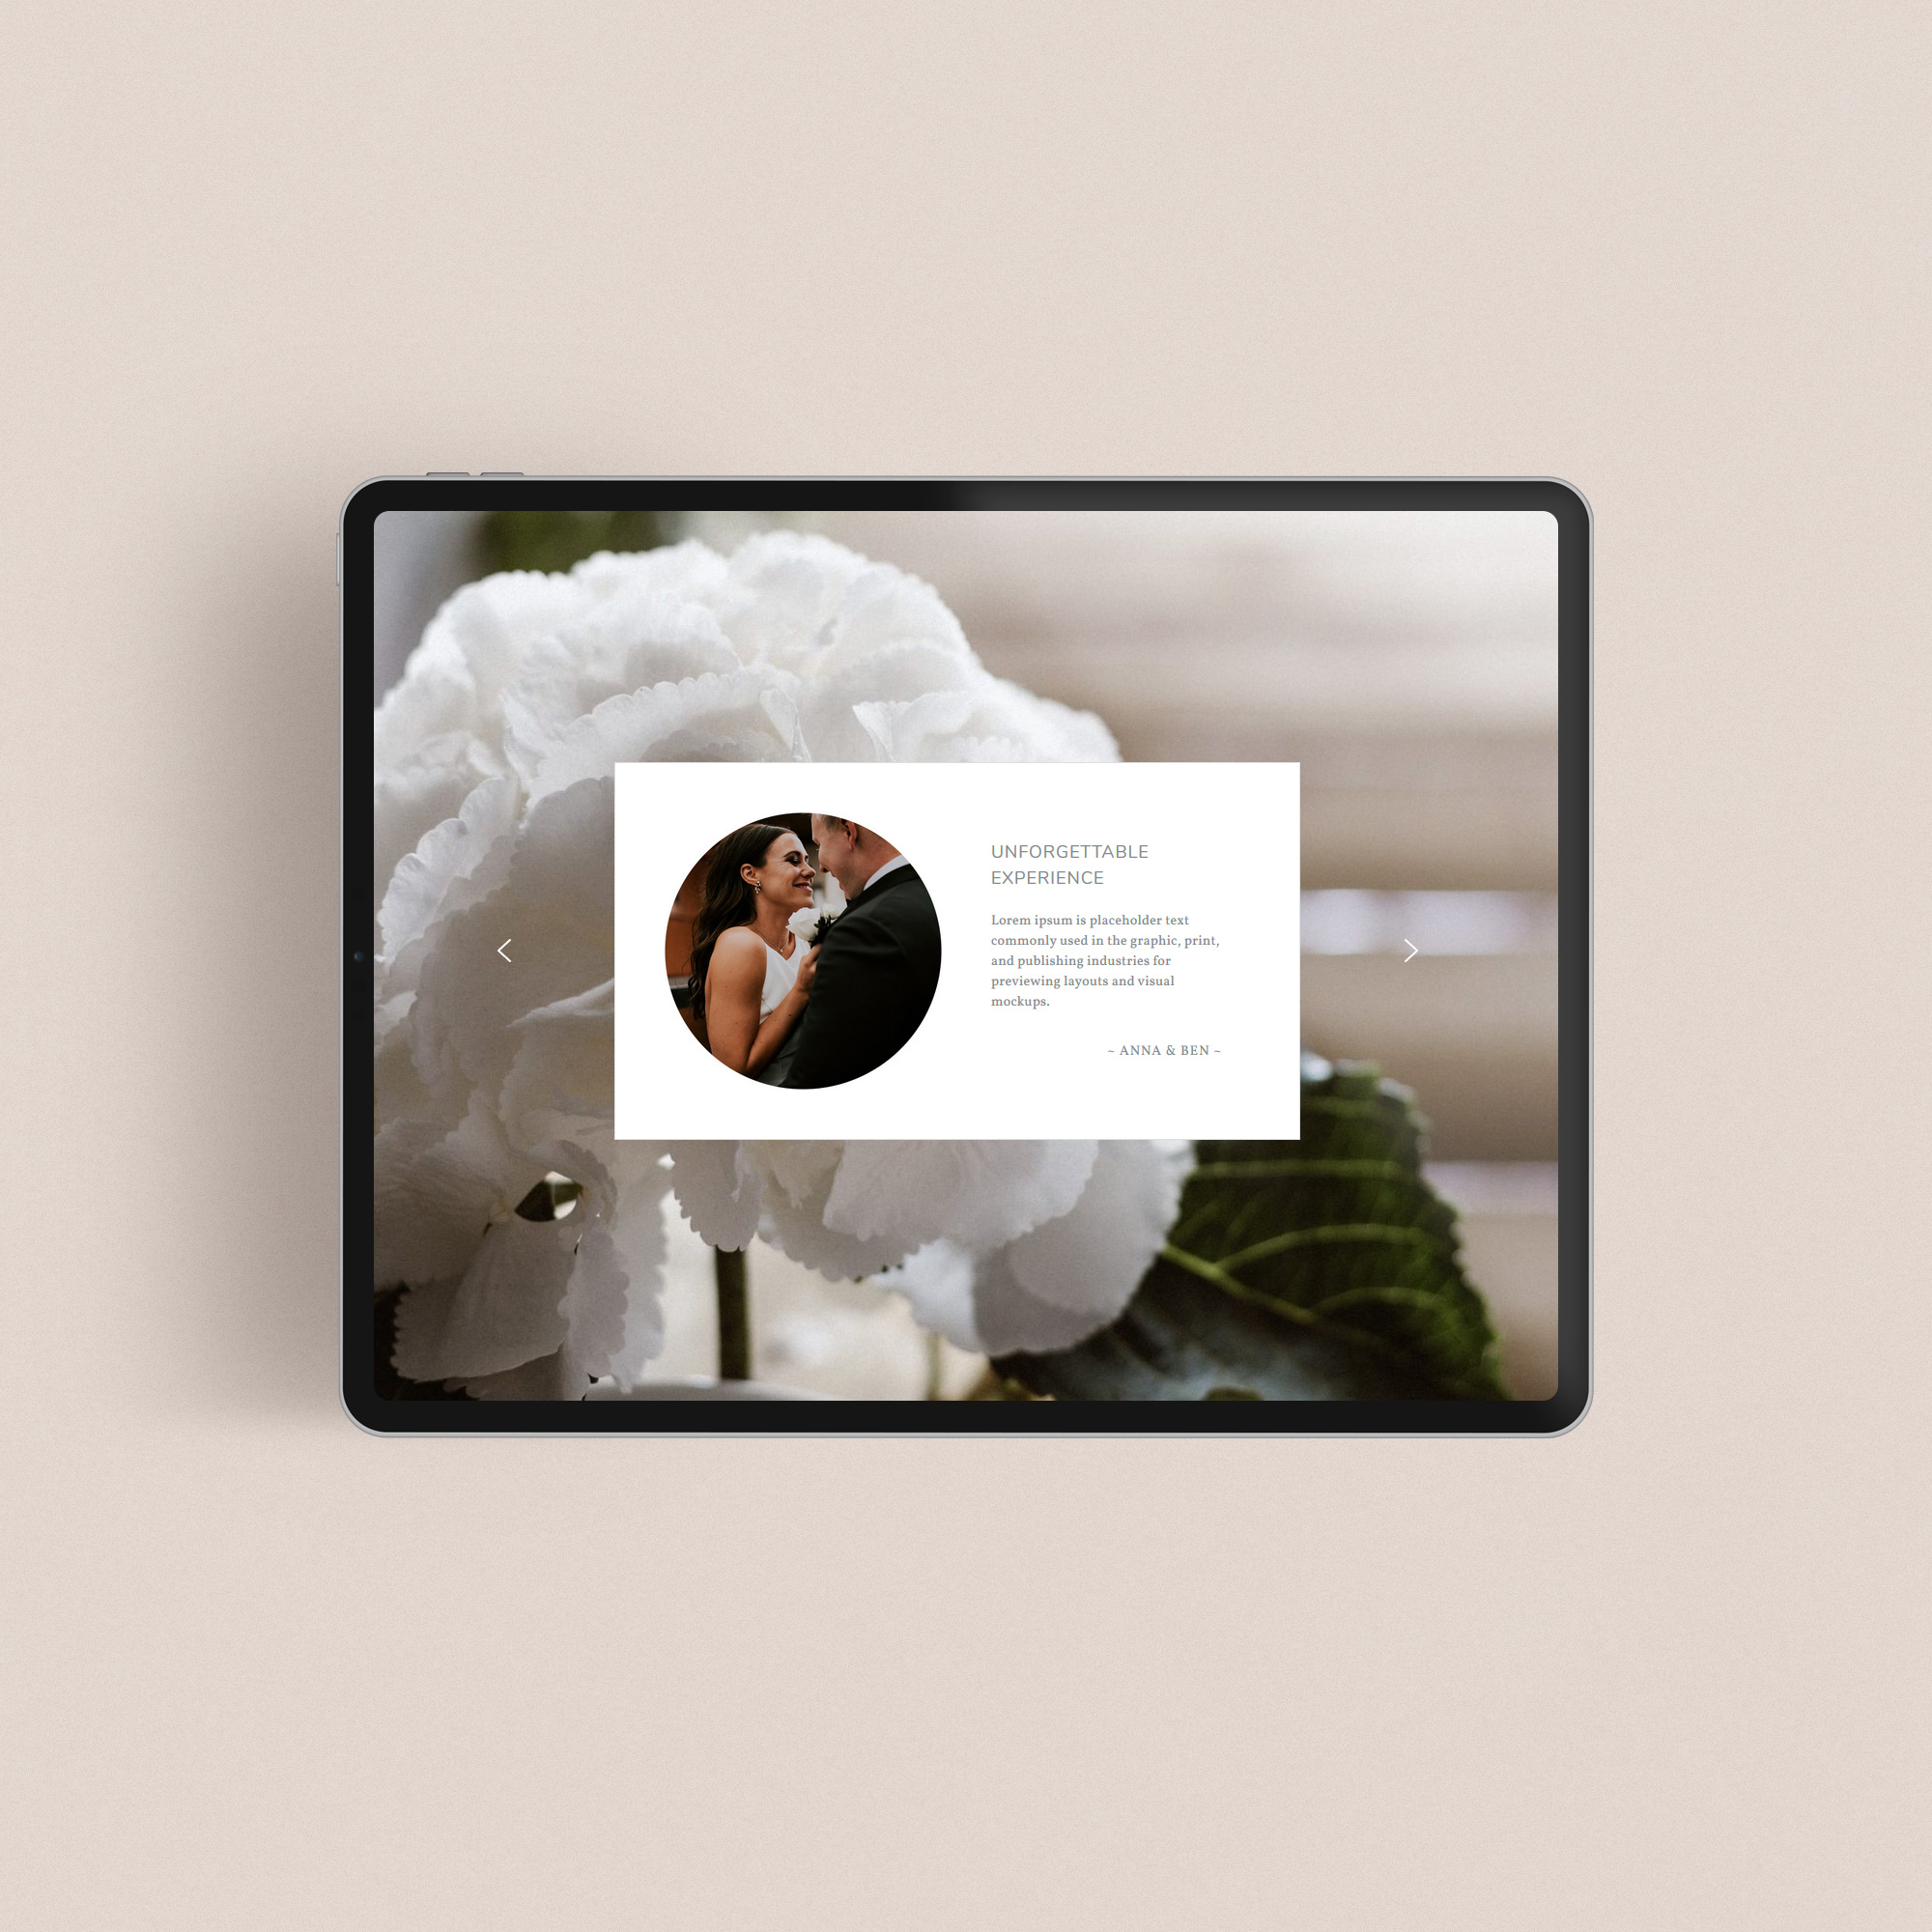
I am designing and creating a few testimonial slider templates that will be available in the following days. Below is one of the templates that will be available as part of a Testimonial slider bundle.
To get a notification when the bundle is going to be available just enter your details below. For those who subscribe to get a notification before the template bundle goes out, a little bonus is going to be available, too.
Get notified about the template availability by just filling in your information in the below form and don’t forget to confirm your email address, too.

